
Quick start
Complete a first manual writing cycle. AI generation time and cost depend on your provider.
1. Open the app
Use the web address or local-source instructions in Install and launch. This site documents the app; create works inside StoryForge itself.
You can first open “Home → Example works” (首页 → 示例作品) to explore built-in examples.
2. Create a longform work
Open “Longform → Library → New longform” (长篇 → 作品库 → 新建长篇) and enter a name. Writing fiction does not require a separate world first.
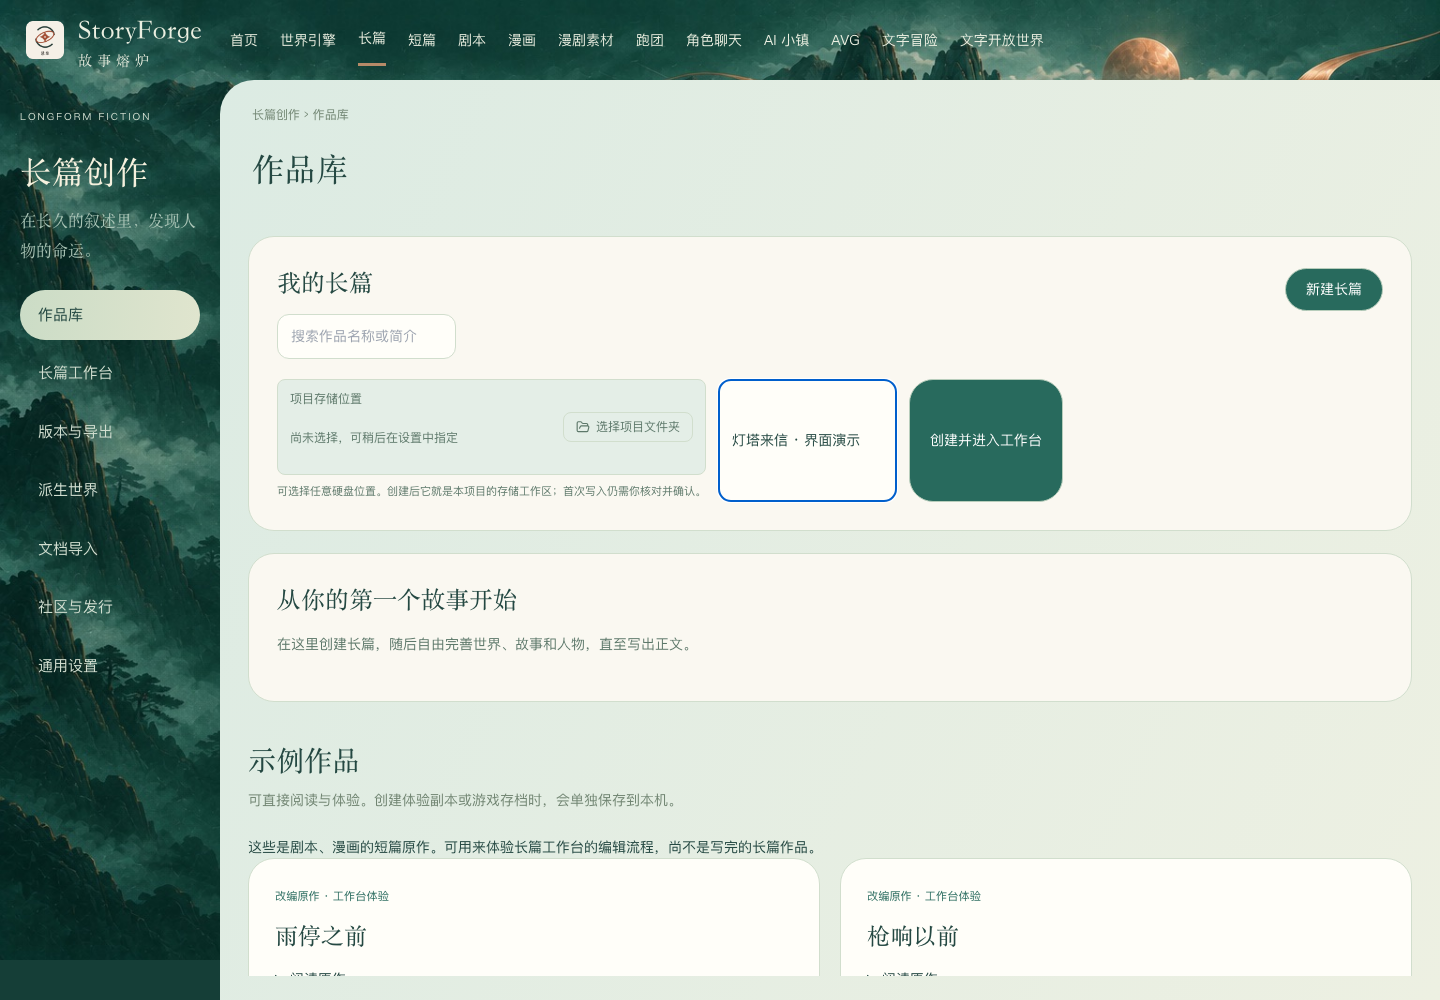
In the workbench, enter the story core needed for this round: what the protagonist wants, what resists them, and what failure would cost. Add information gradually; you need not complete every world-setting field first.
3. Prepare chapter one
Organize the protagonist under “Characters and relationships” (人物与关系), create chapter one under “Outline and chapter plans” (大纲与章纲), then arrange action, conflict, and turns in “Scene beats” (场景细纲). This can all be done manually.
For AI, first configure a model. Generate a small scope, review the candidate, then confirm. An unconfirmed generation is not yet saved as the official work.
4. Write and check
Open “Prose → Chapters and prose” (正文 → 章节与正文). After writing or adoption, inspect the actual prose for characters, locations, and causality. Where needed, record chapter facts, foreshadowing, and state changes as evidence for the next chapter.
If a candidate is marked stale, preserve your edits and recheck the current version as instructed. Do not repeatedly click adopt.
5. Save your first backup
Use the data-backup entry in “Versions and export” (版本与导出) to download a complete JSON backup. Export Markdown/TXT prose separately if useful. Confirm the download exists before closing the page.
Browser autosave is different from a disk backup. Before changing browsers/devices or moving from the web app to a local instance, read Backup and recovery.